Assembly Oblique Cabinet
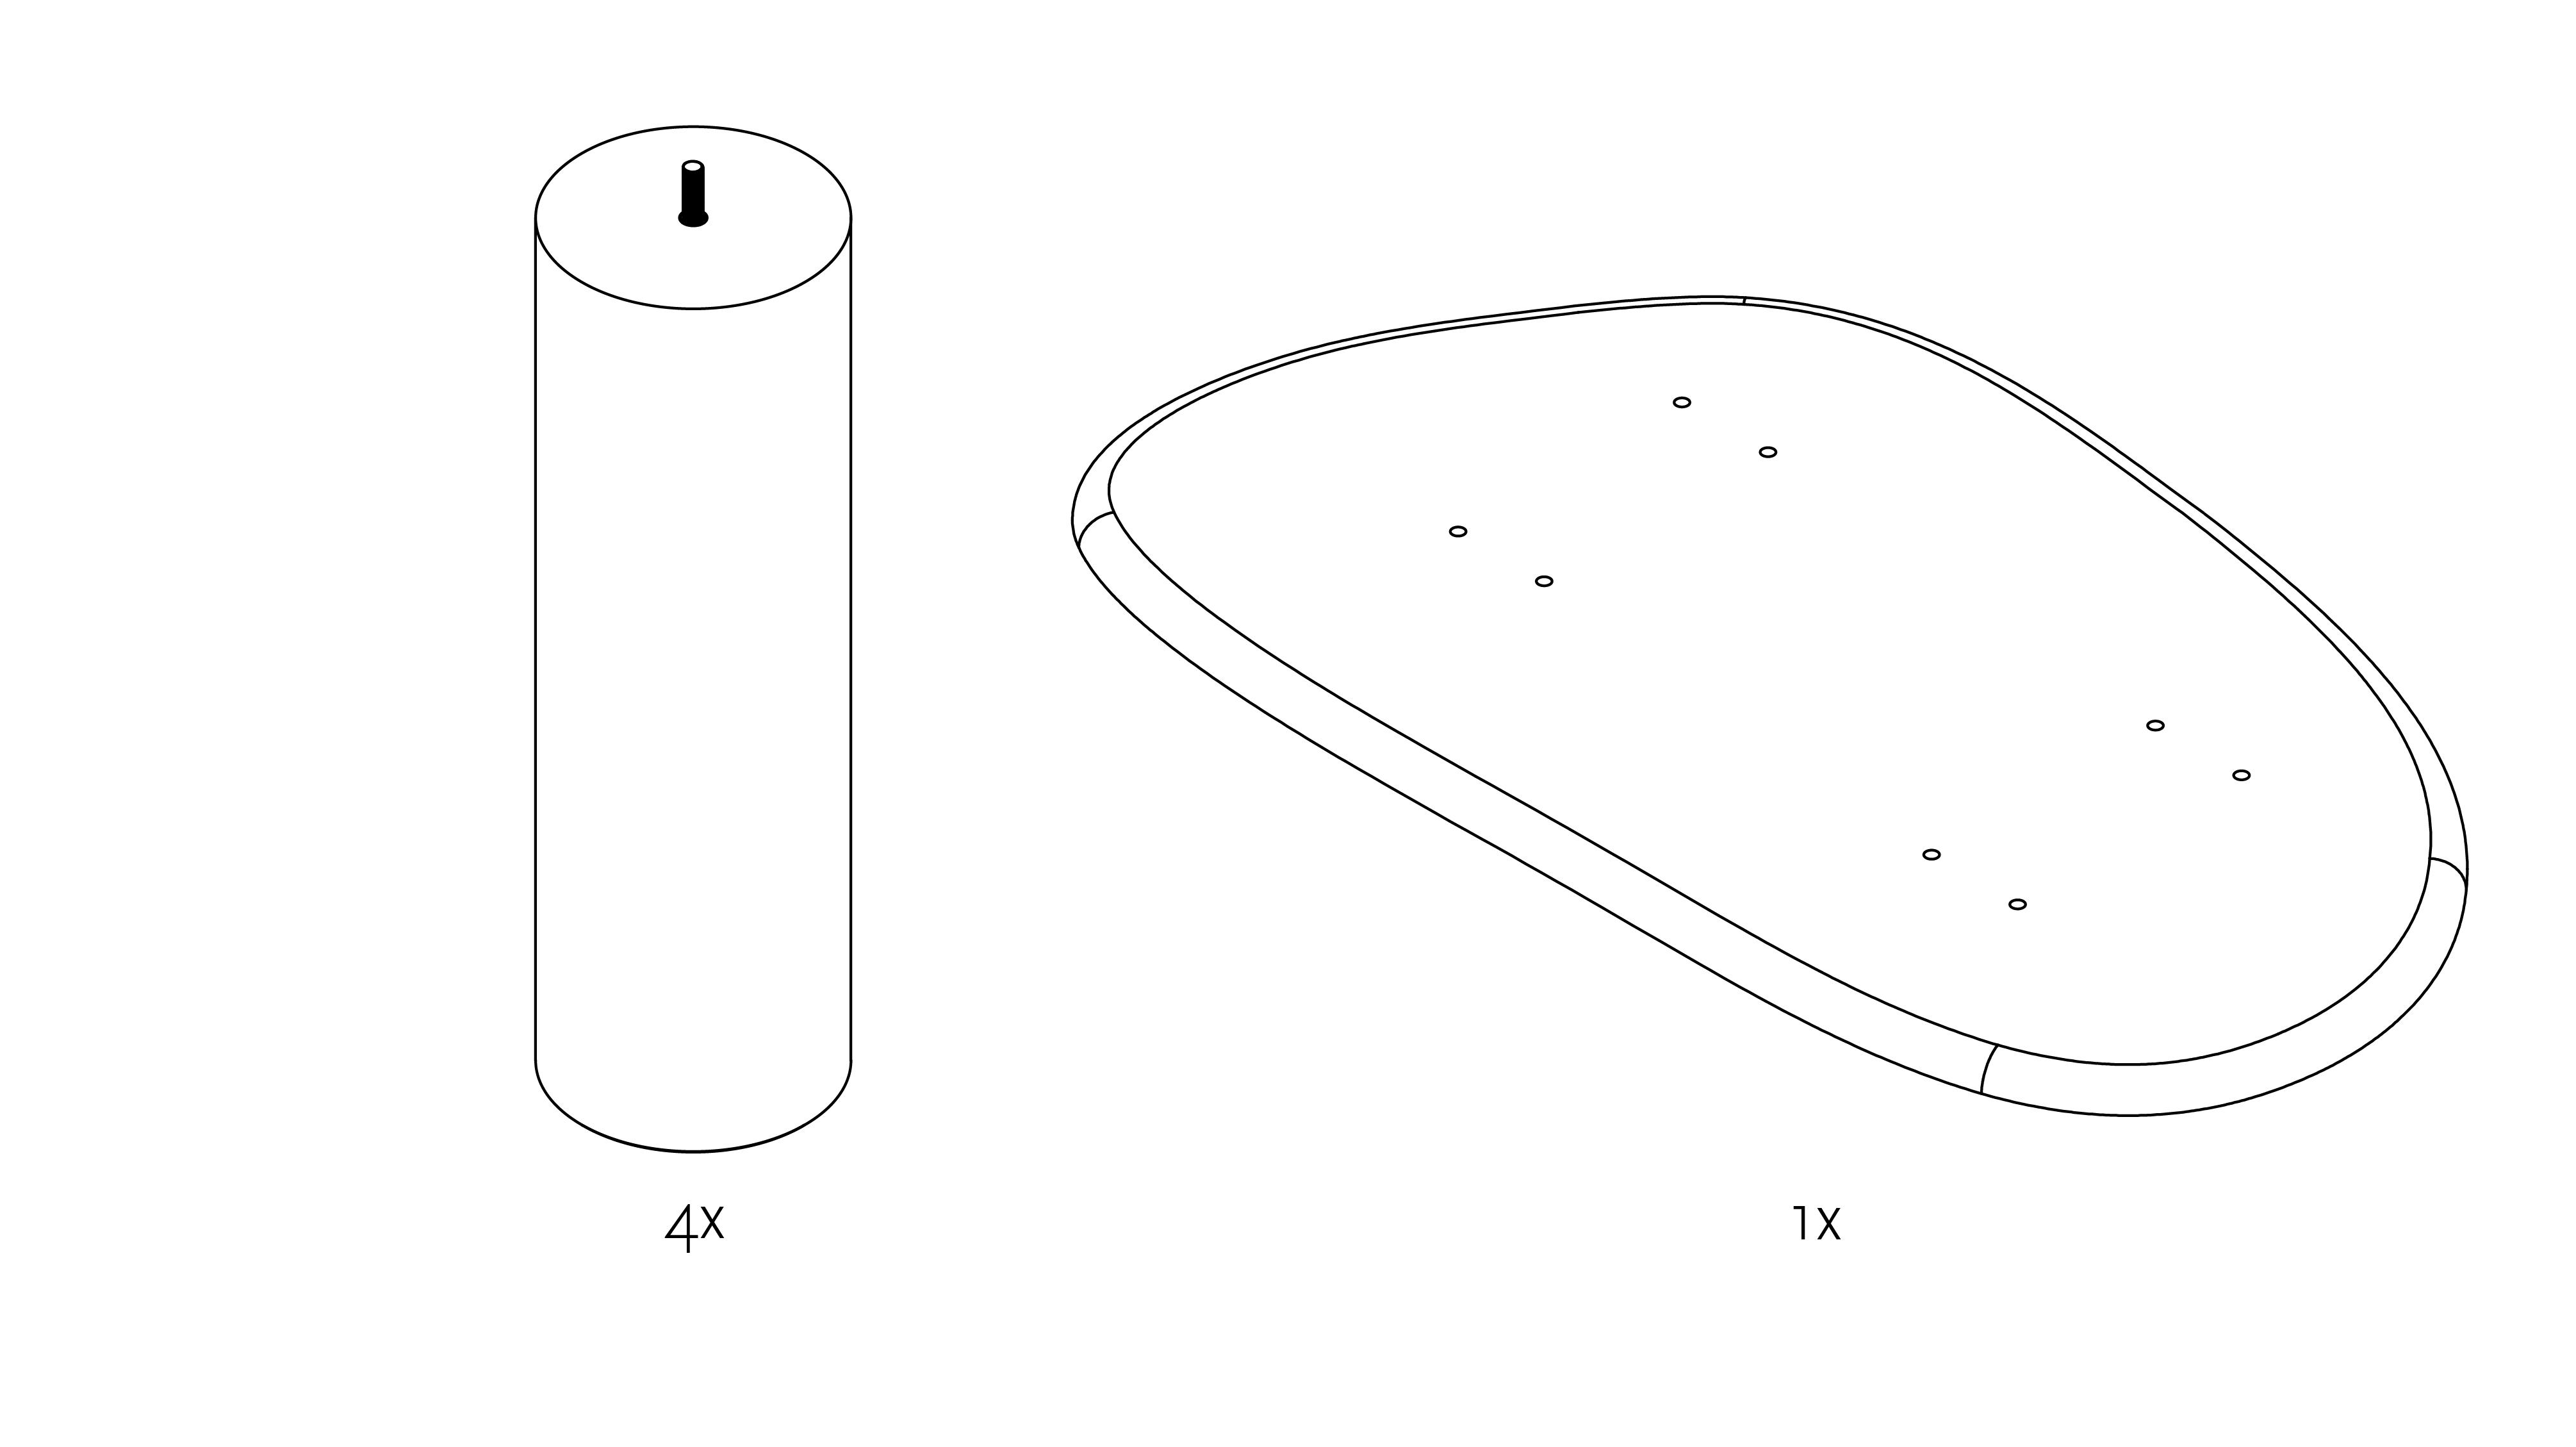
Start by having your tools ready: an Allen Key 3 mm and a PH2 crosshead screwdriver.
Download the Oblique Cabinet manual as PDF
1. Place the frames on the floor. To protect the frames from scratches, put something soft underneath them.

2. Turn the frames on their sides. Make sure the cutouts on the bottom of the frame are turned to the top.

3. Slide the shelves into the frames with an angle of at least 25 degrees. Make sure the frame is below the shelves.

4. Check the 90-degree angle. Secure the shelf to the frame by tightening the screws lighty, using an crosshead screwdriver. Do not tighten the screws yet.

5. Turn the cabinet up against the wall.

6. Ready for wall mounting; go to (7) for further instructions.

7. Check the 90-degree angle and check whether the cabinet is levelled. Then tighten the screws.

8. Attach the cabinet to the wall, using the prefab holes. Then apply the caps.

9. Your Oblique Cabinet is done, and ready to use! If you have an Oak Element as well, please continue at step 10.

10. Slide the element into the cabinet.

11. You can level the cabinet doors using the screws.

12. Plug the closures in the designated holes. You can set the preferred moment of closing by adjusting the closing system.

13. Decide the positioning of the doors and tighten the screws.
